In this blog, we walk through the steps to install your own personal Morpheus instance on your laptop or PC using Oracle VirtualBox, CentOS 8 and the Community Edition of Morpheus. Morpheus Community Edition provides full functionality and support for up to 25 instances. This is a great way to get hands-on experience with Morpheus and start to learn about its capabilities.
In this step we install VirtualBox on MacOS. For installation on other operating systems refer to the installation instructions which can be found in the VirtualBox user manual here.
Download Oracle Virtual Box for your host from https://www.virtualbox.org/wiki/Downloads
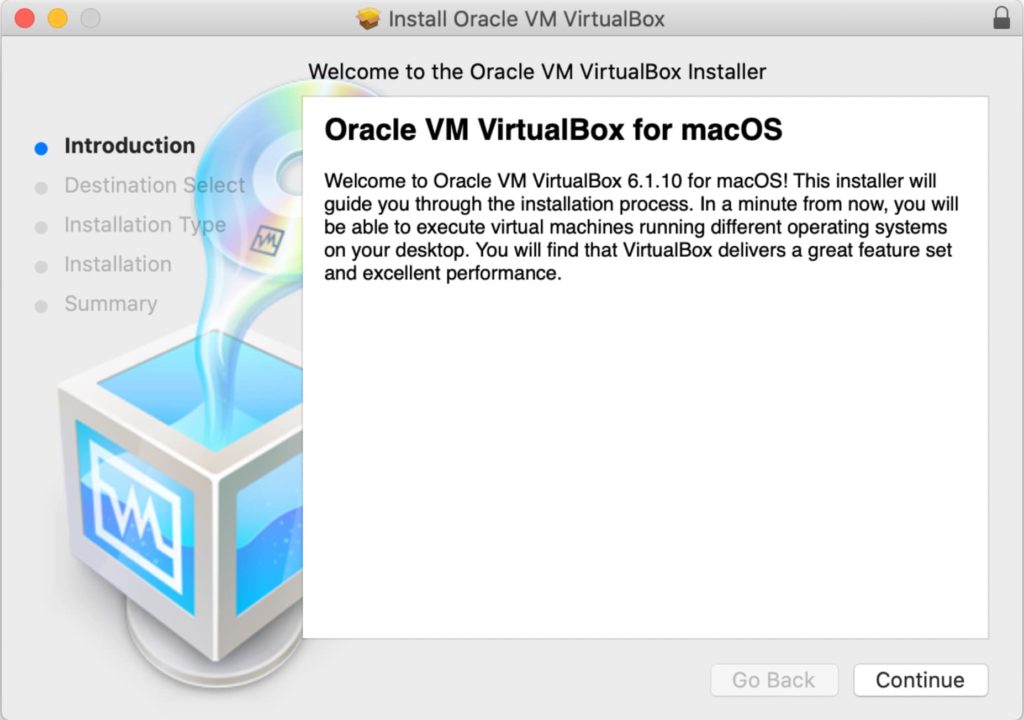
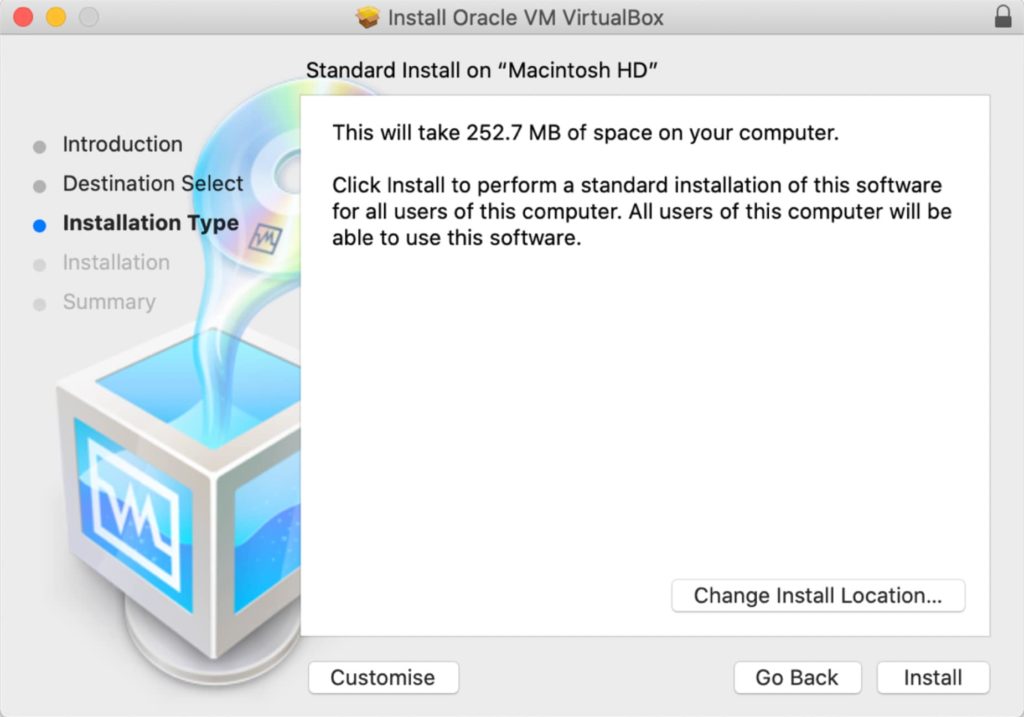
At the time of writing the latest version was 6.1.10. For MacOS the VirtualBox software ships in a dmg (disk image) file. To install VirtualBox on MacOS perform the following steps:

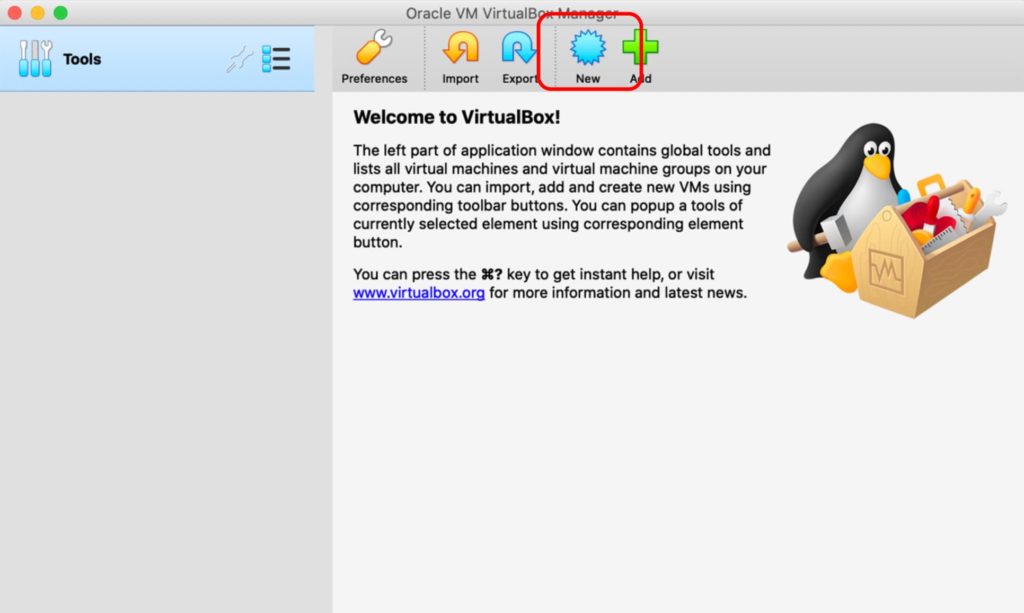
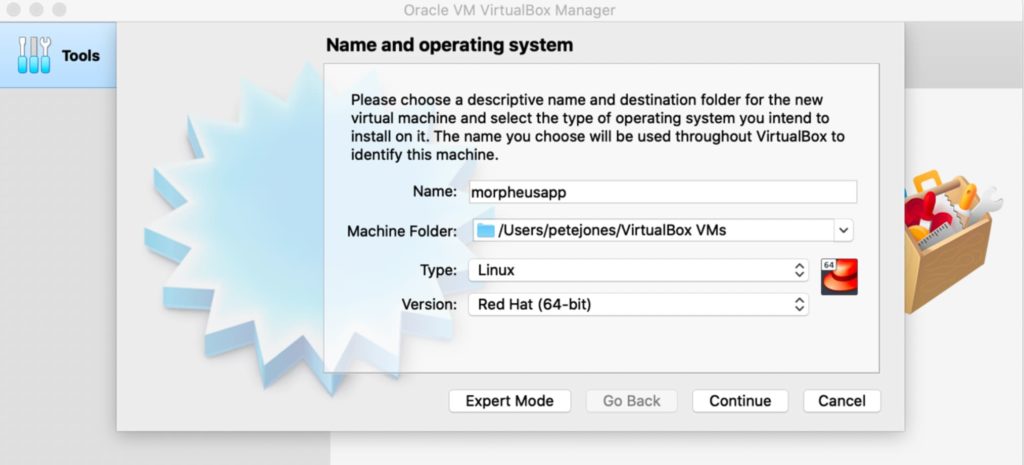
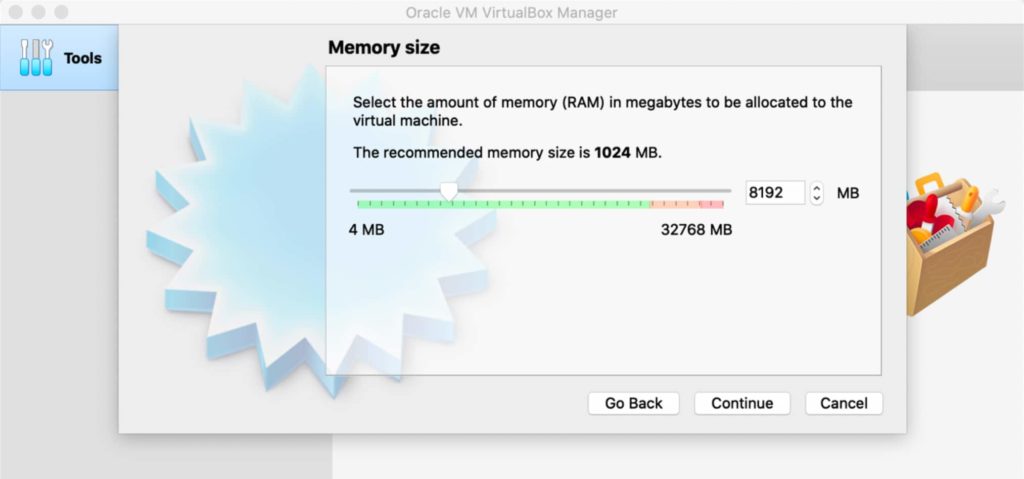
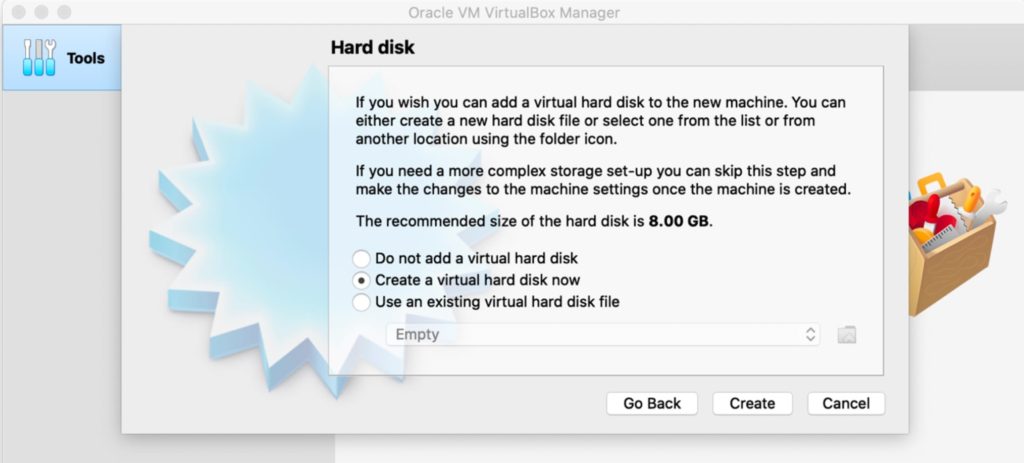
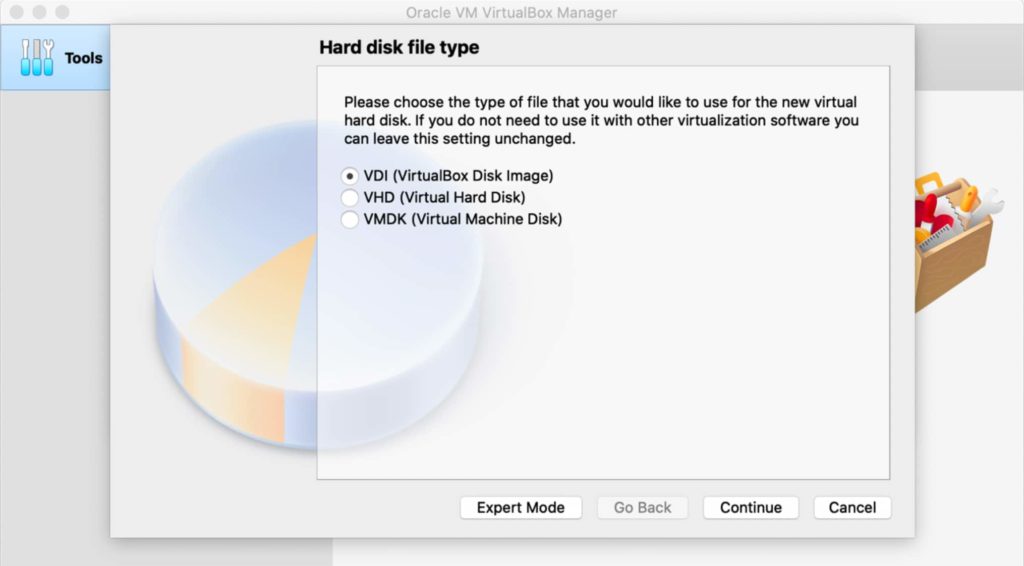
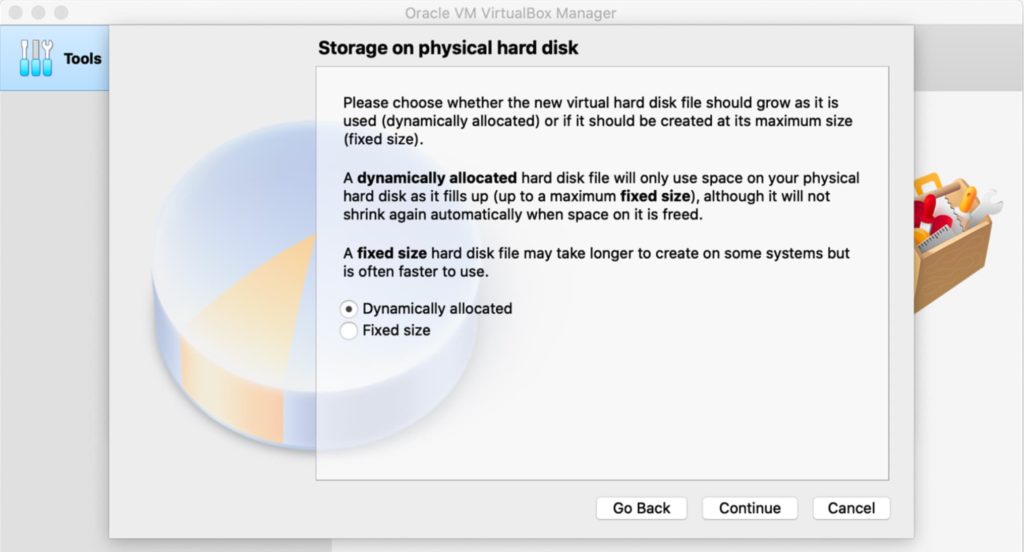
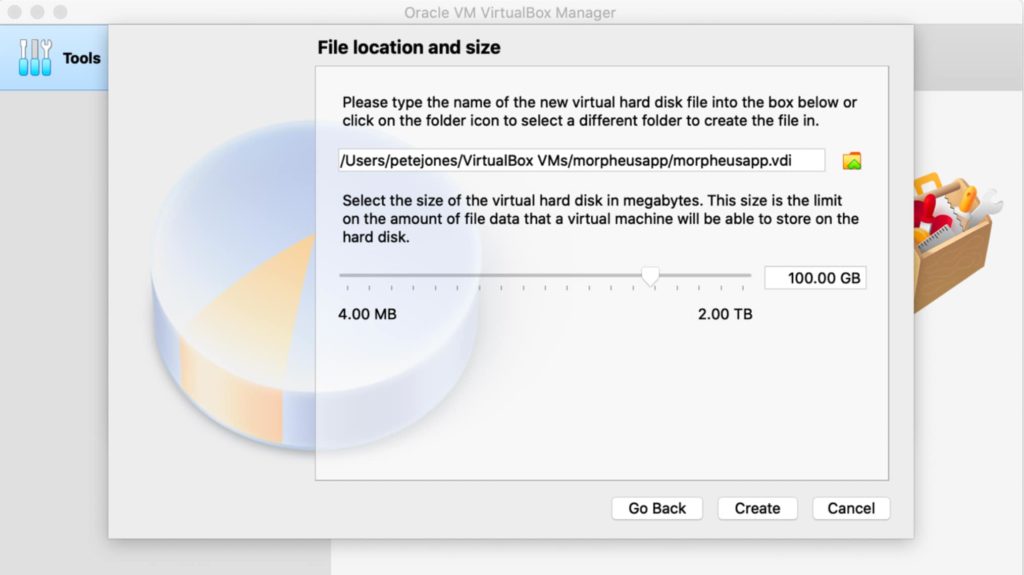
In this step we create our first virtual machine in VirtualBox which we will then use to install Morpheus on.
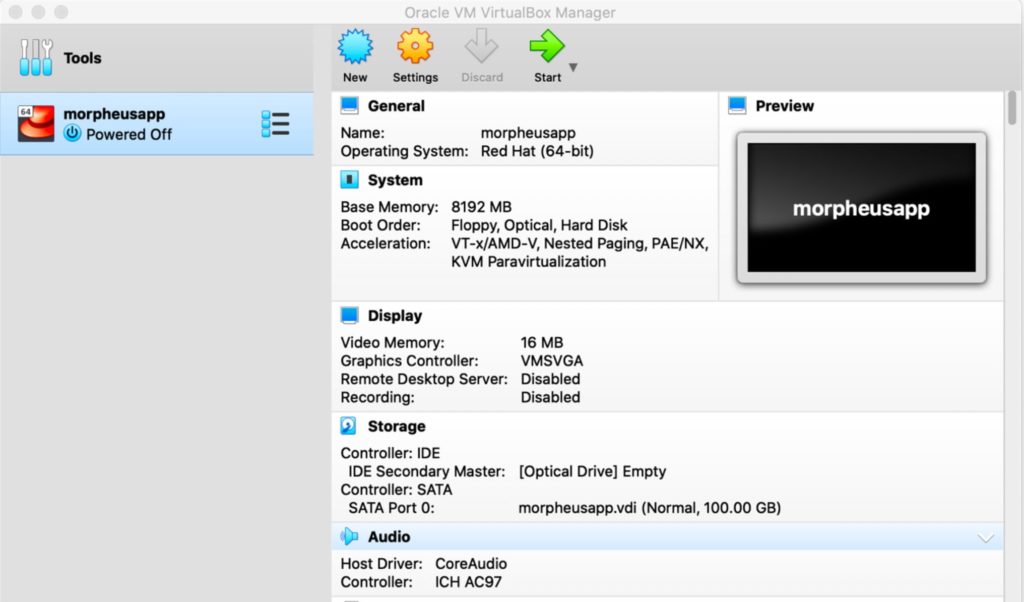
Morpheus supports a number of different operating systems ‘ see the latest documentation for details here. In this example, we will use CentOS 8 which can be downloaded from here. The file downloaded was called CentoOS-8.2.2004-x86_64-dvd1.iso
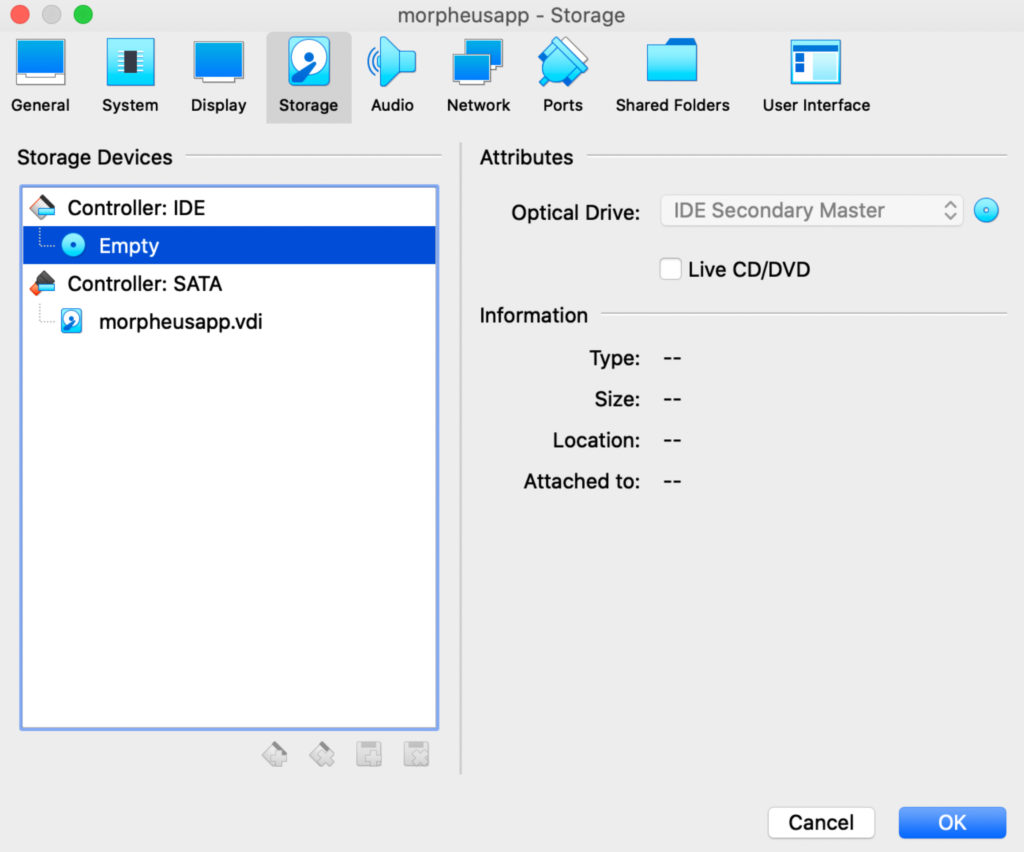
You will now see the CentOS ISO loaded. Click OK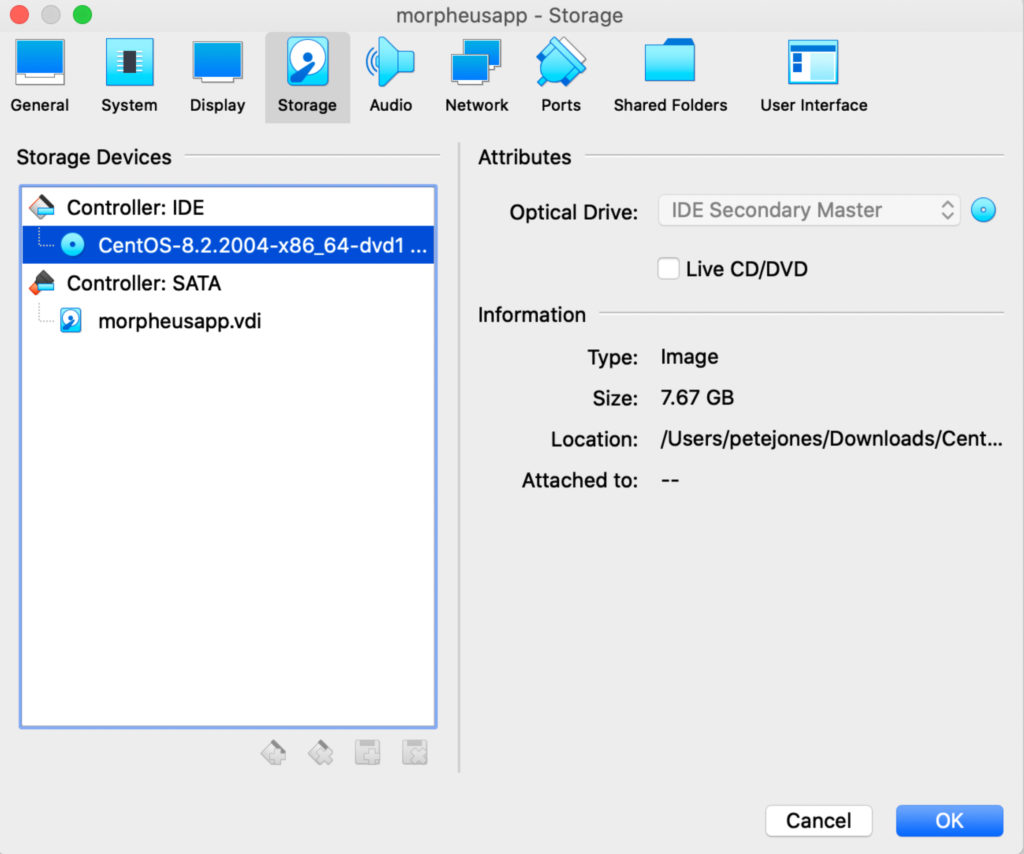
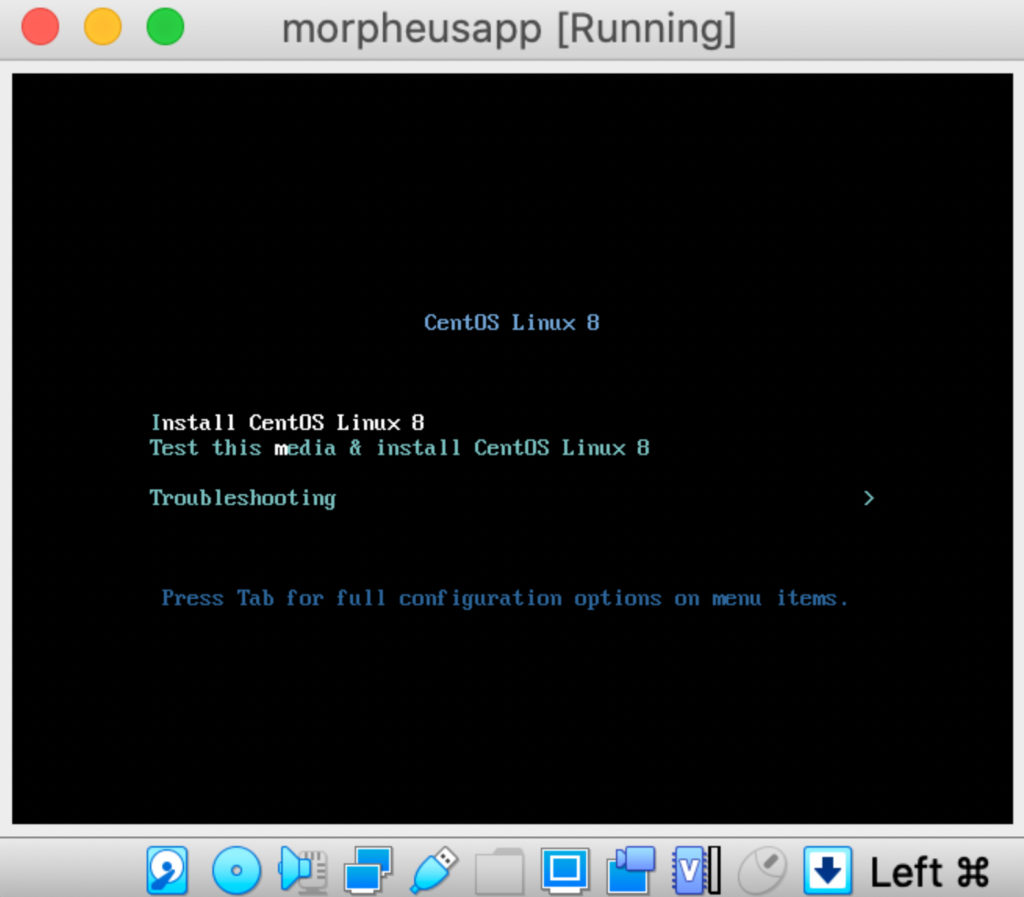
Click Start to power on the VM.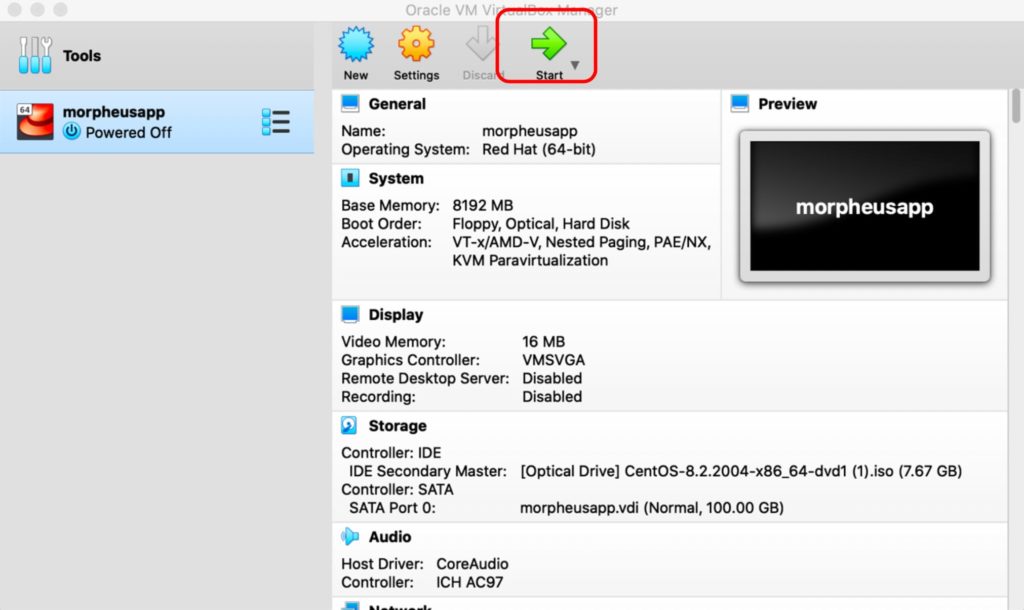
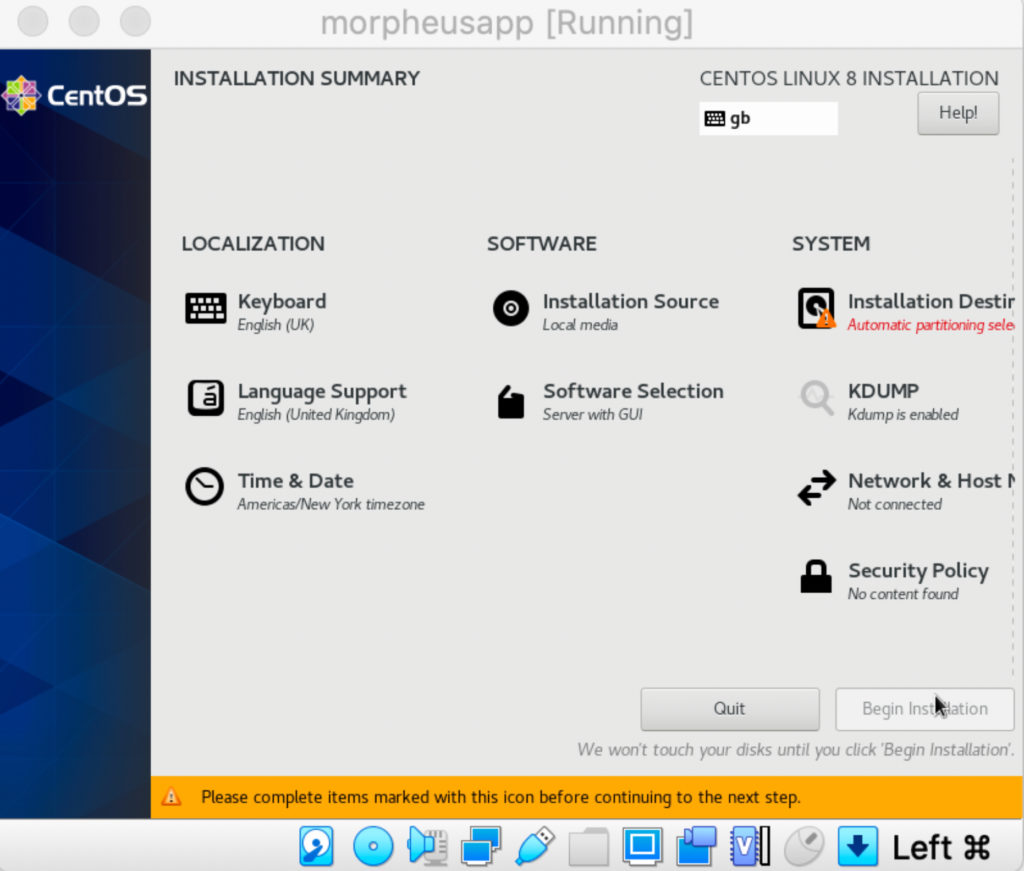
Click Installation Destination. Ensure that the disk is selected and storage configuration is set to Automatic. Click Done.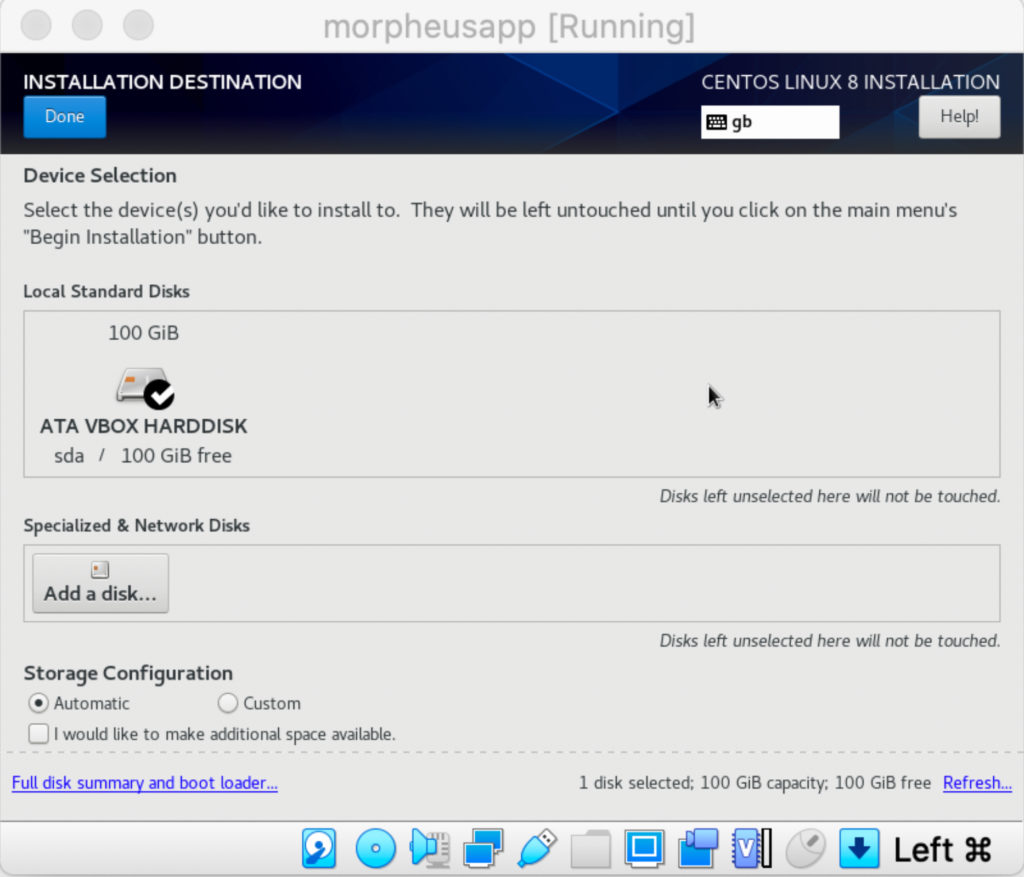
Click Time & Date to set the Timezone. Click Done.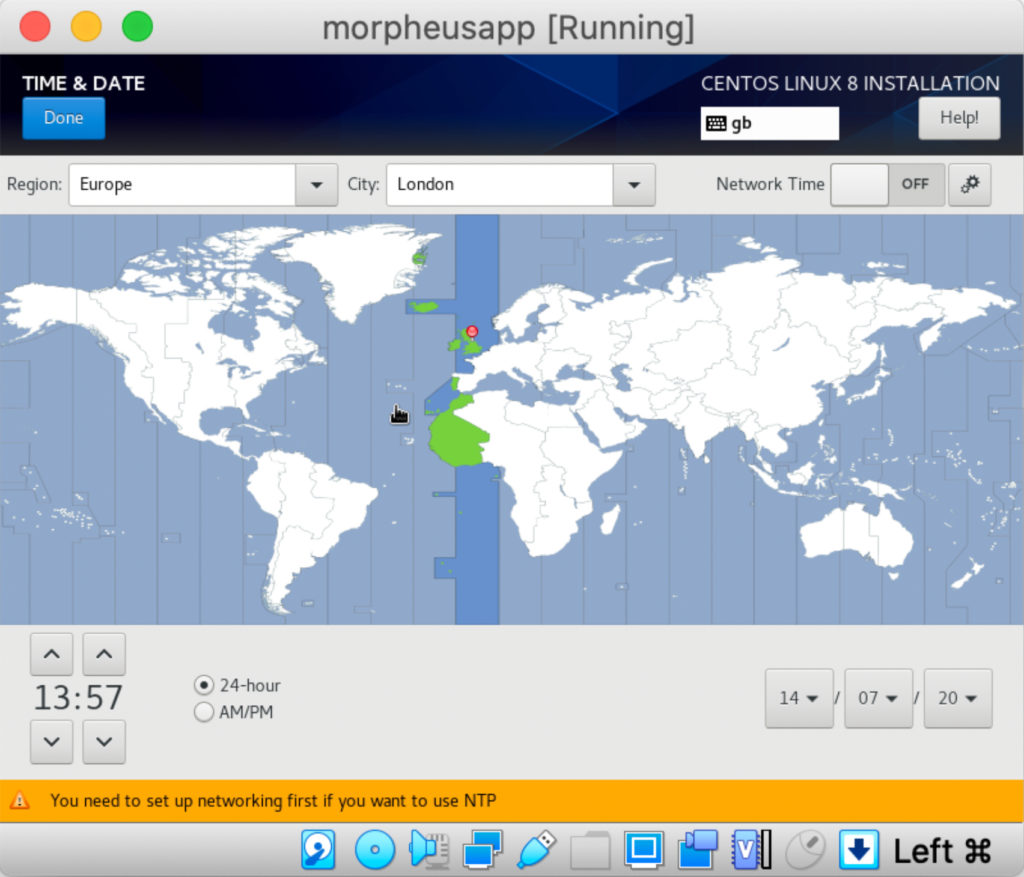
Click Network and Host Name to set the hostname. Enter the host name in the box and click apply to set the hostname. Click Done.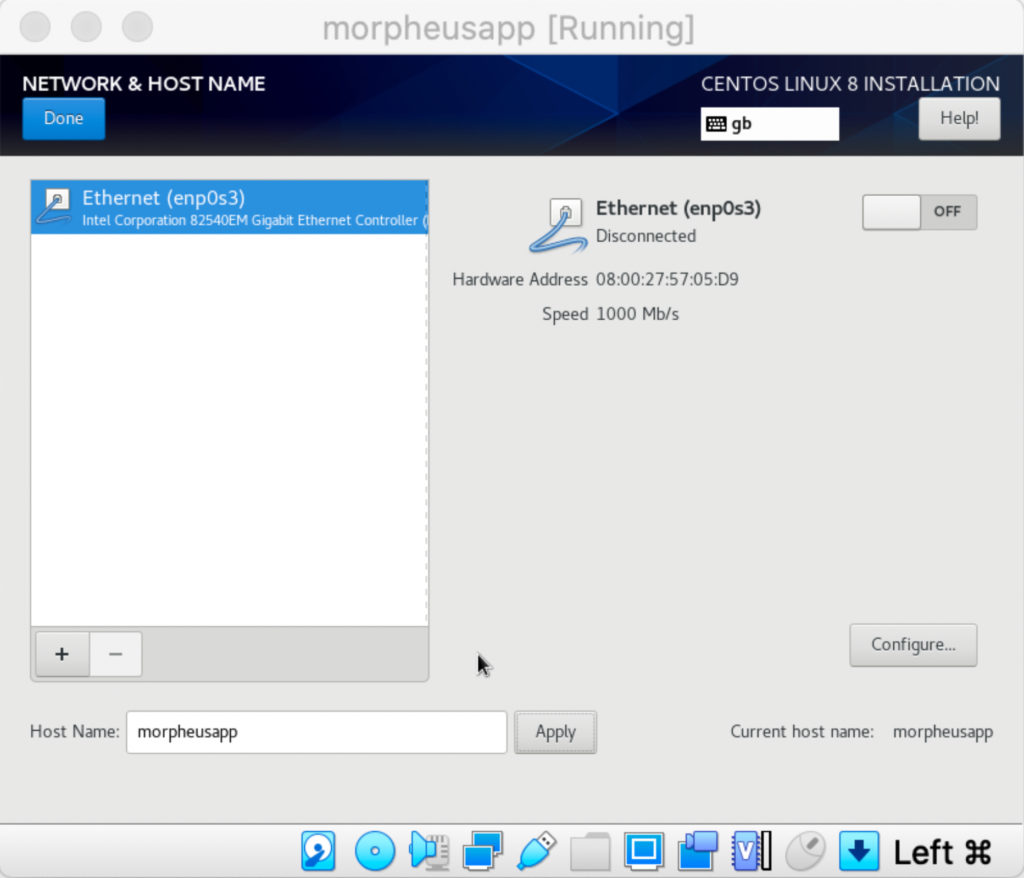
Once all changes have been made, from the Installation Summary screen, click Begin Installation. The installation will start.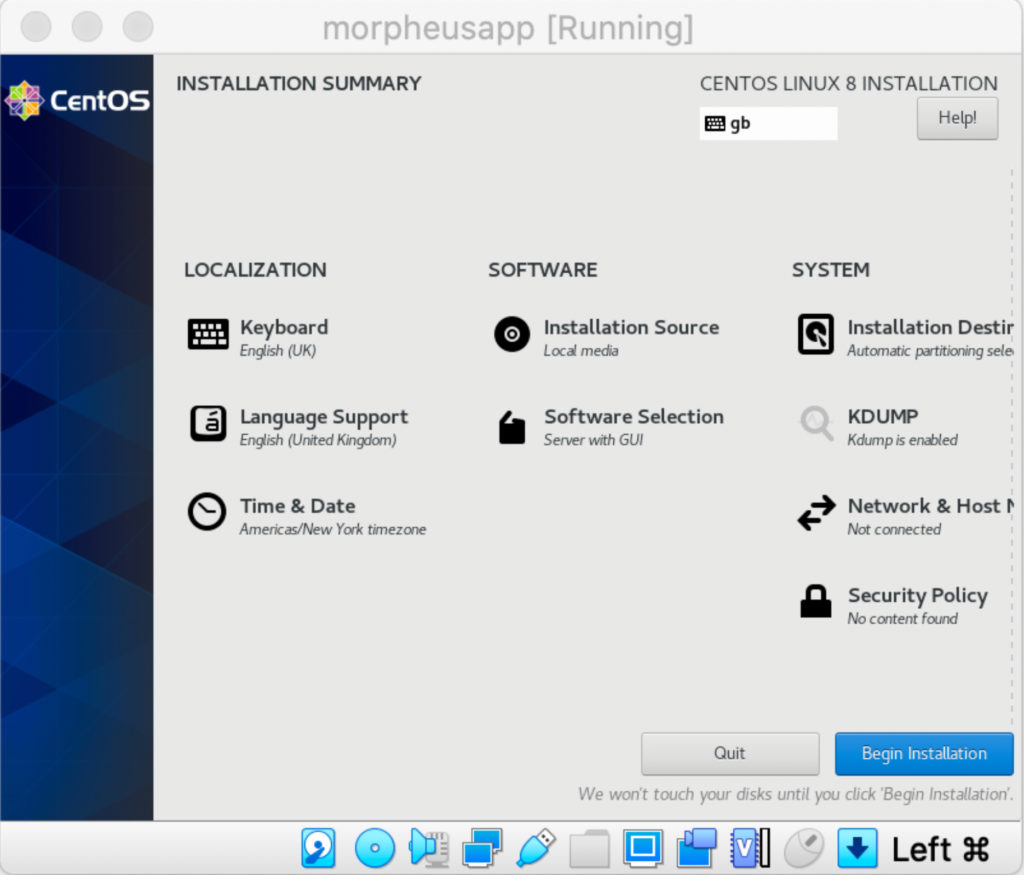
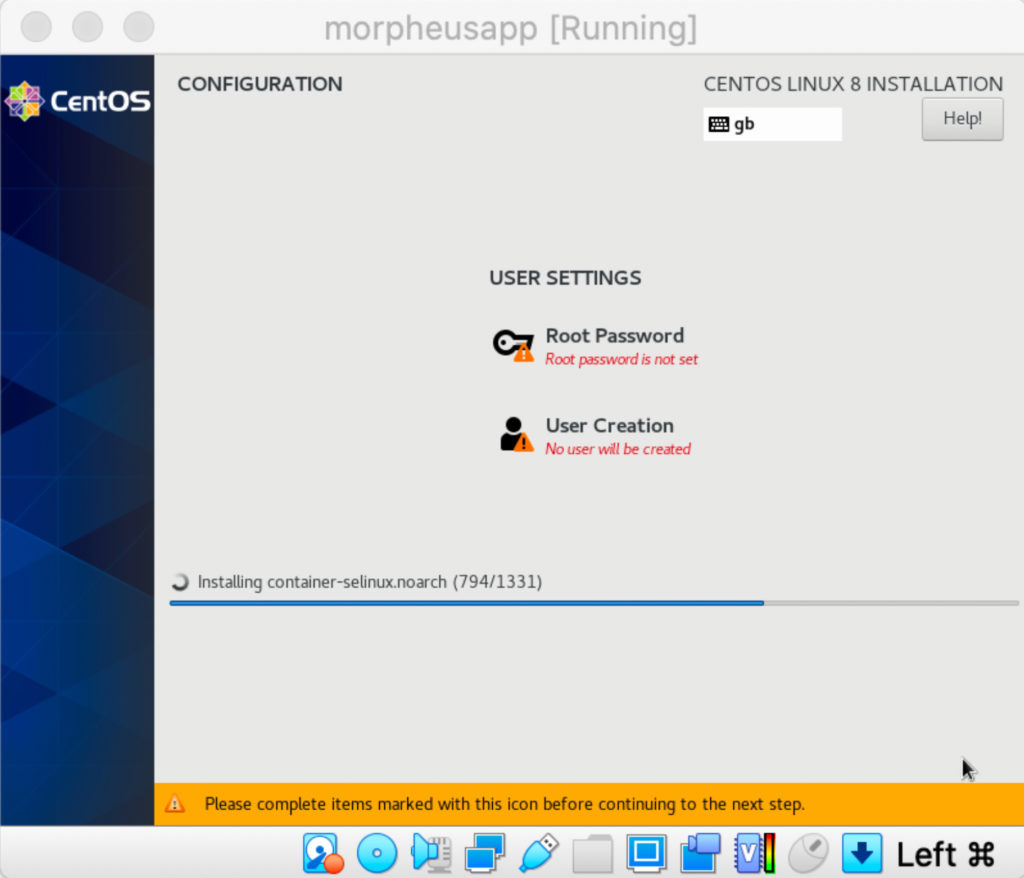
Click Root Password and enter a root password. Click Done.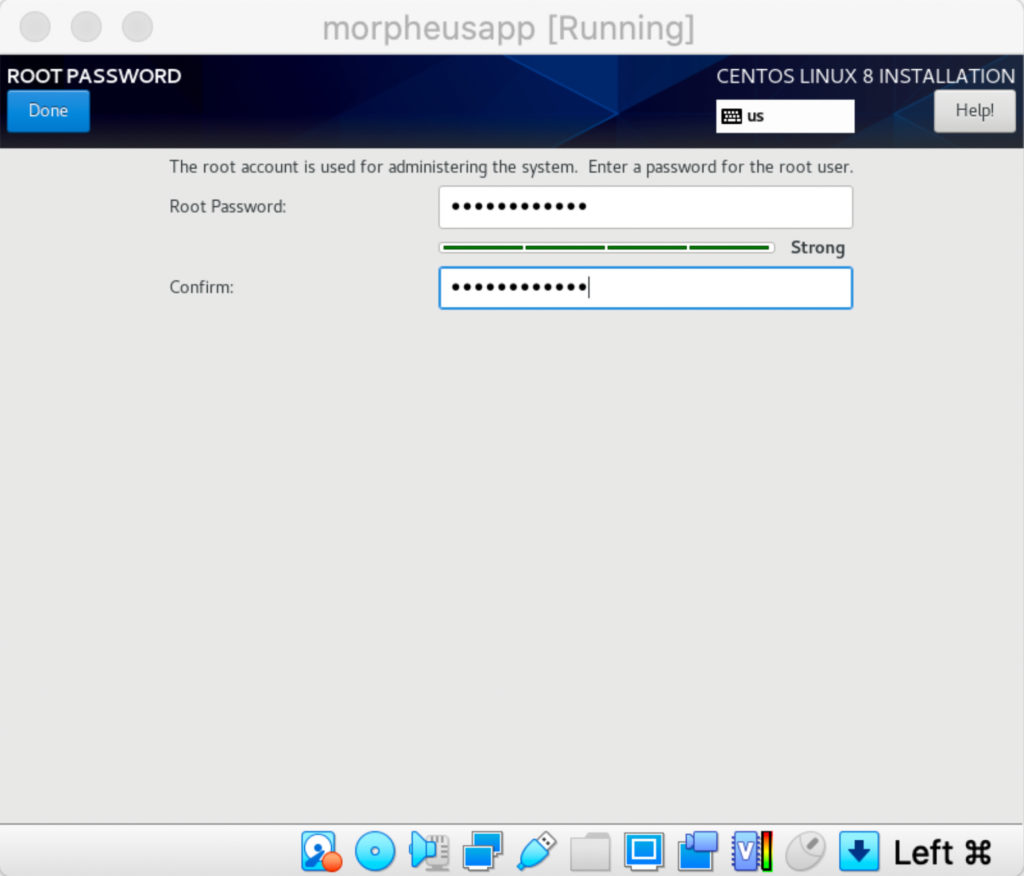
Click User Creation and create an initial user. Click Done.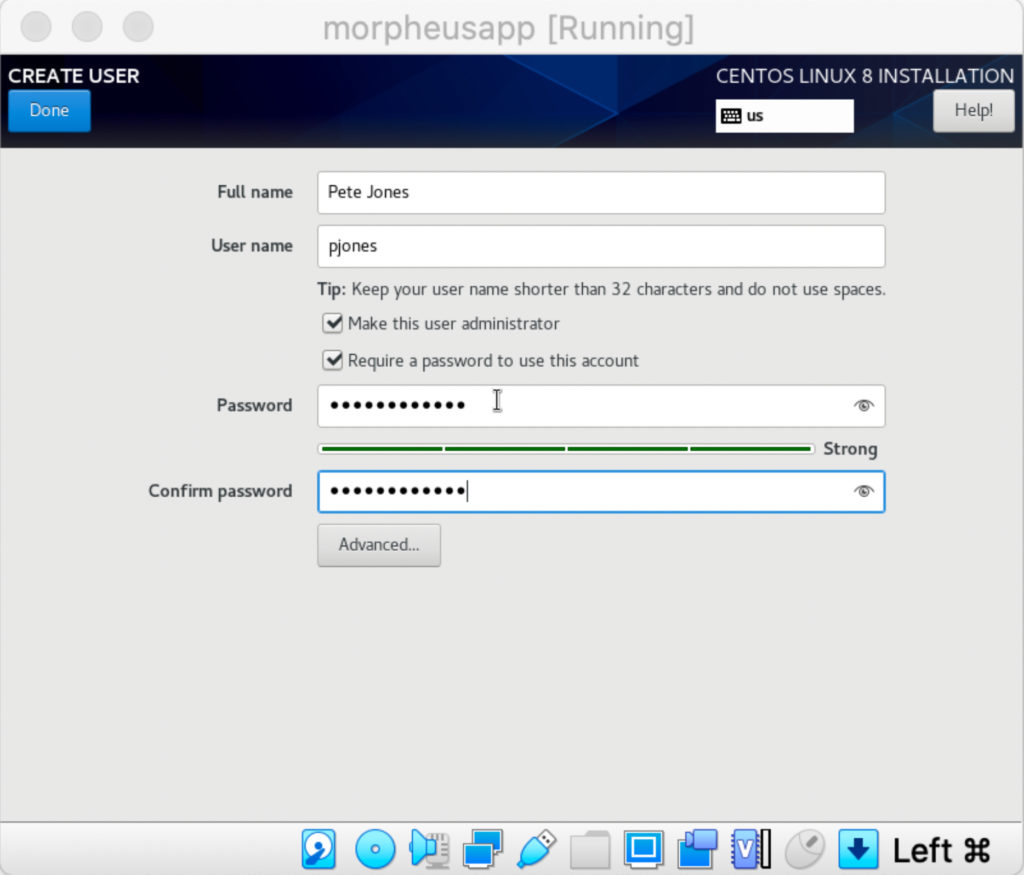
Once the installation has completed click Finish Configuration and then Reboot.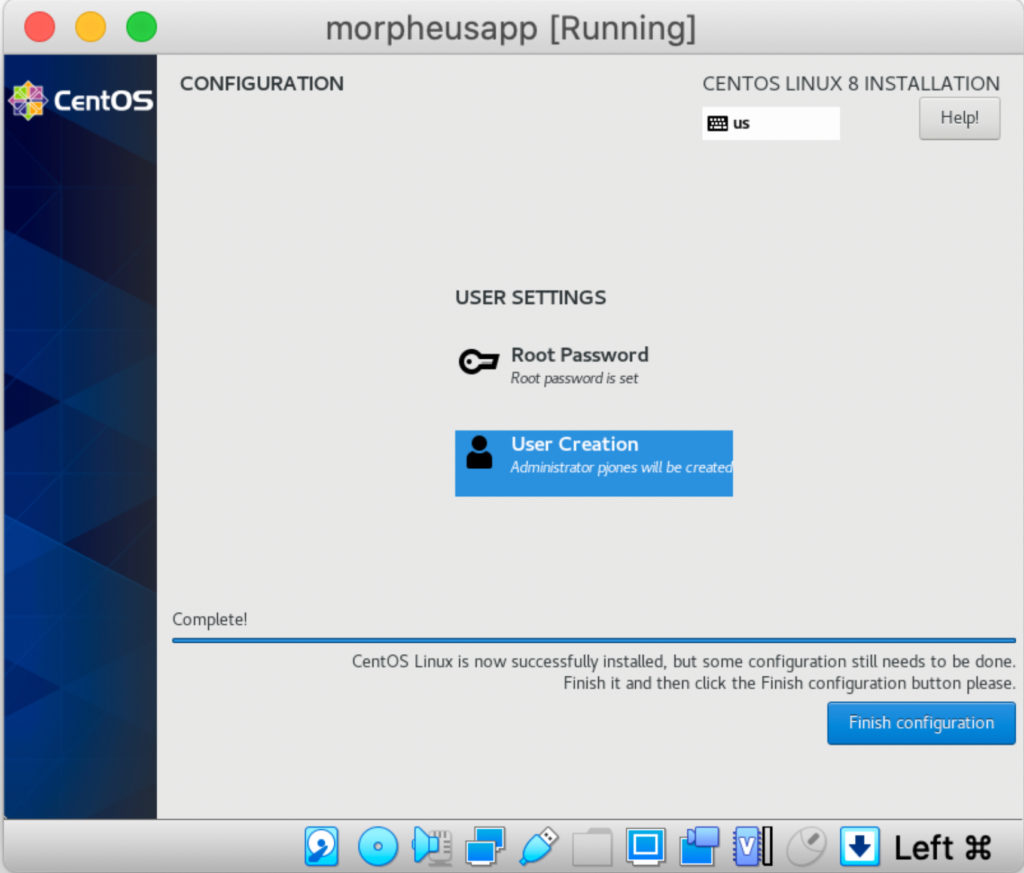
The VM will now reboot. VirtualBox will boot the VM using the installation media again as this is still mounted in the optical drive. Once the VM has rebooted go to Devices -> Optical Drives -> Remove disk from virtual drive. Select Force Unmount. Now click on Machine -> Reset to reset the VM. The VM will now boot from the virtual hard drive.
Once the VM has been rebooted you will need to accept the license. Click License Information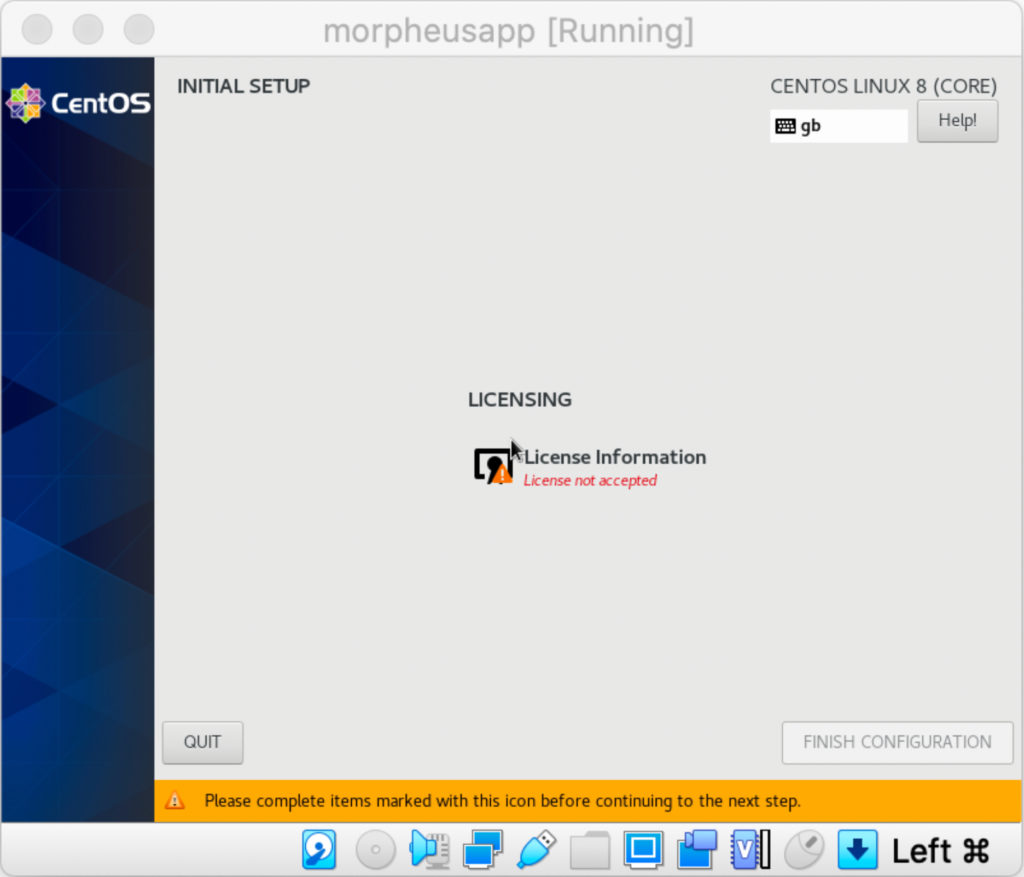
Check the box to accept the licence agreement and click Done.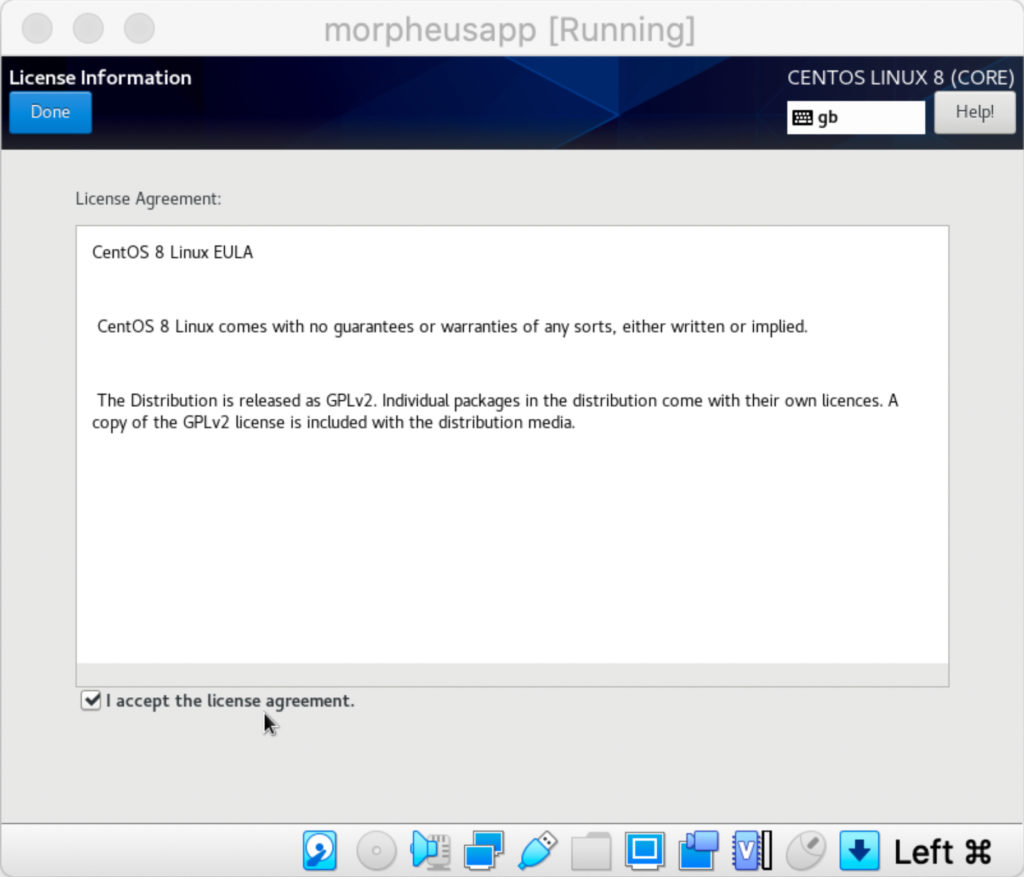
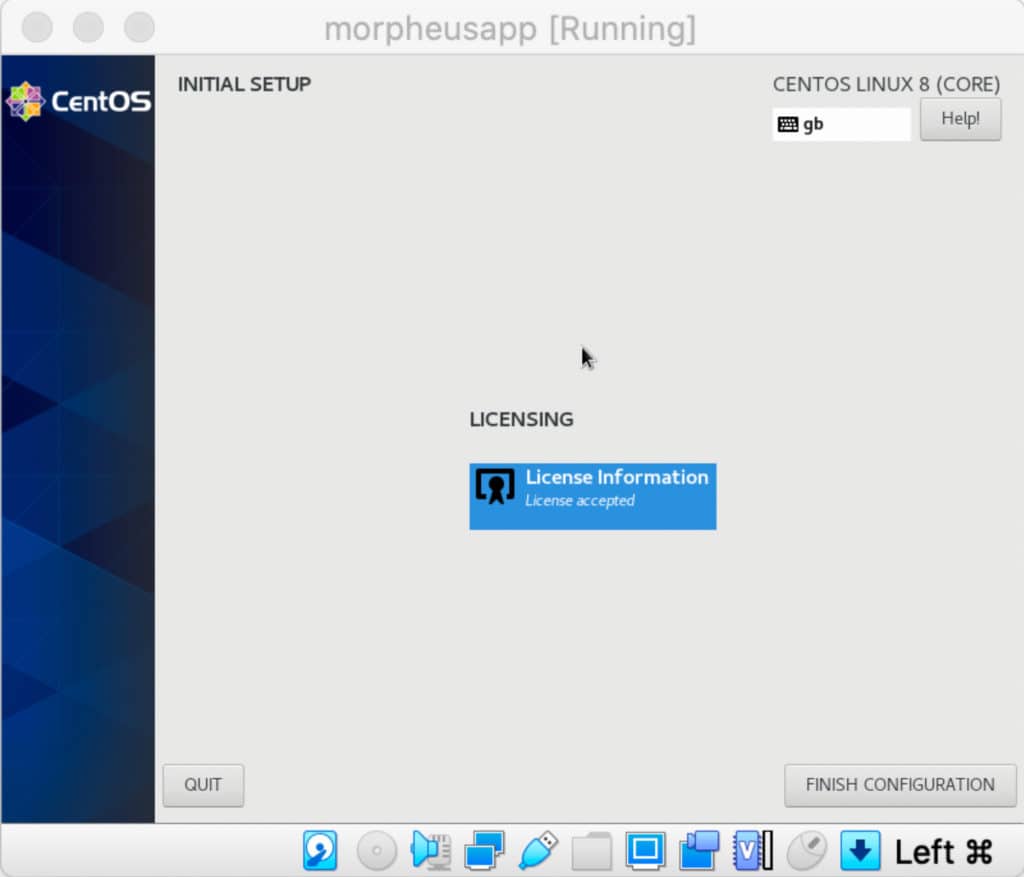
Click Finish Configuration. You will then be able to log in to the VM. Login as the user created during installation. You may be presented with some additional set up questions for gnome such as language, keyboard layout, location services, etc. Once you have answered these you will be logged in and able to use CentOS.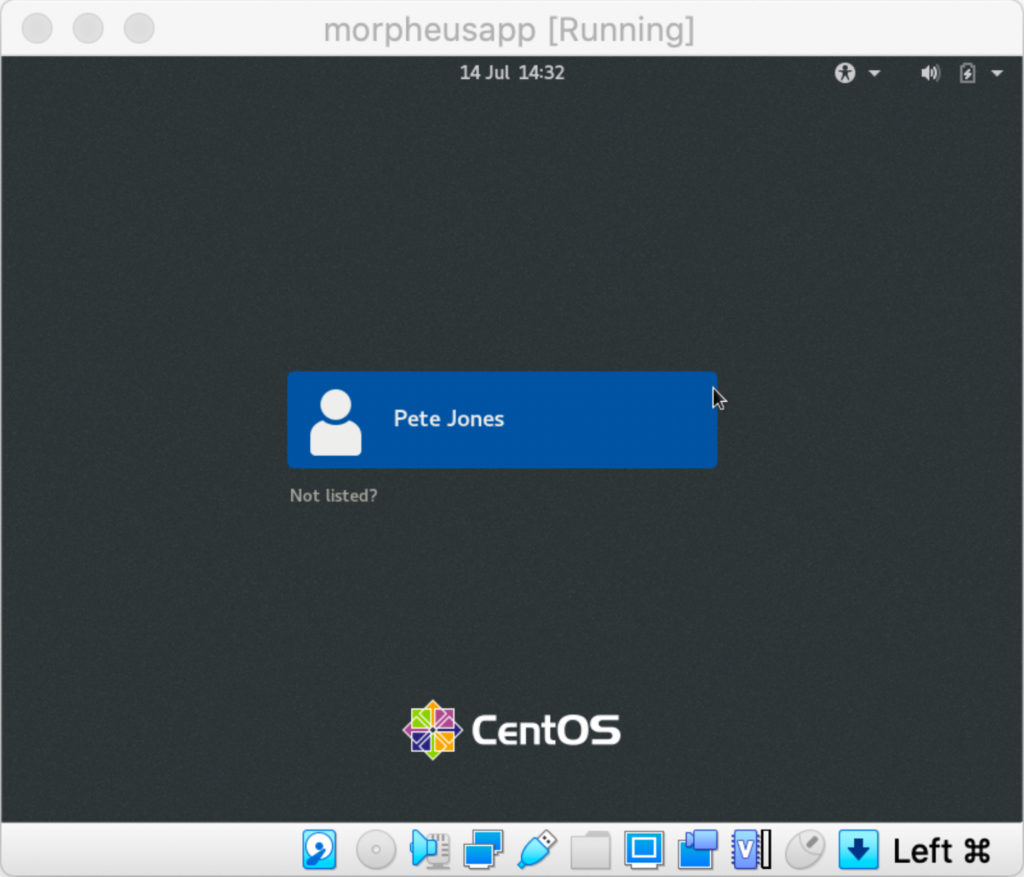
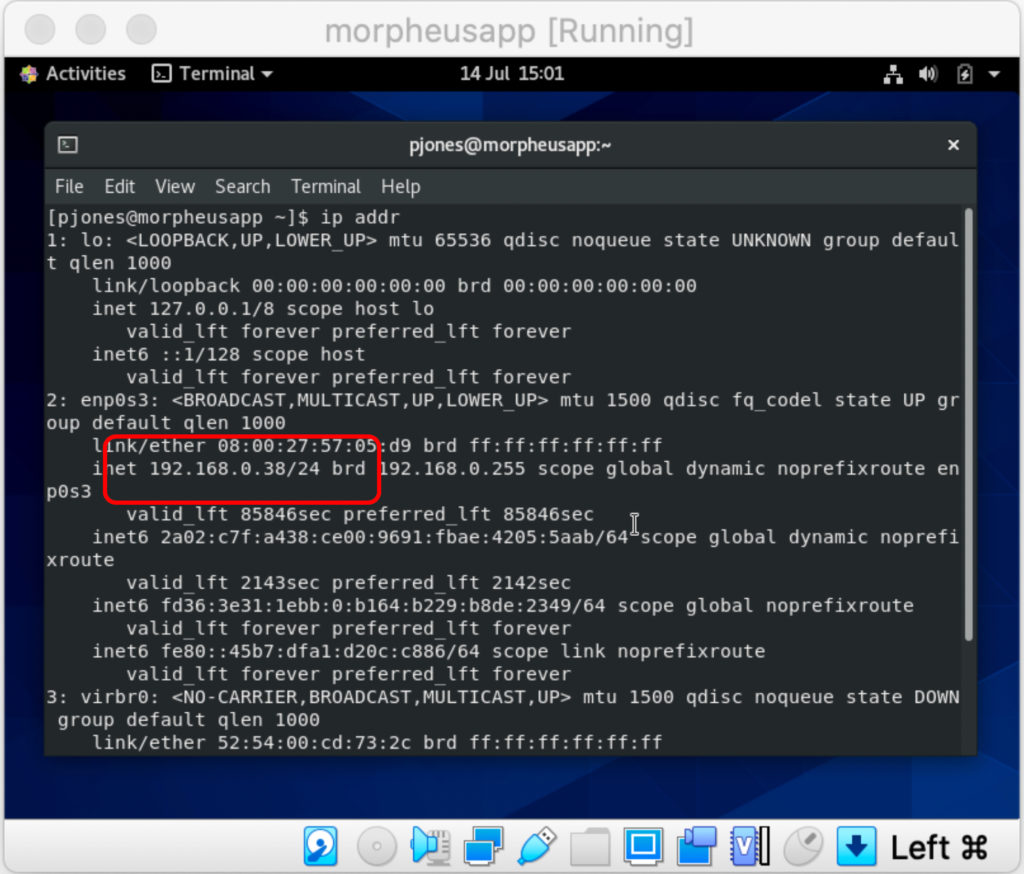
The network interface enp0s3 will not have an inet entry, which means it hasn’t started the interface on boot. You can check this by running the command ip addr and looking at the entry for enp0s3.
To configure the enp0s3 to be activated at boot time, edit the ifcfg-enp0s3 cfg file:
sudo vi /etc/sysconfig/network-scripts/ifcfg-enp0s3
Change ONBOOT=no to ONBOOT=yes
We also need to change the Network type in VirtualBox to Bridged Adapter so we can SSH into the VM. Select the VM in VirtualBox and click on Settings. Go to Network and change it from NAT to Bridged Adapter. Click OK and then reboot the VM.
We are now ready to install Morpheus. The installation is very straight forward but before we begin there are a few prerequisite tasks that we need to perform to ensure the installation is successful.

Now is also a good time to add the IP address and hostname of the Morpheus appliance to the hosts file on your laptop or PC.
Once you are logged in, go to the Downloads link and find the release package for the OS (at the time of this blog’s release the Morpheus version was 4.2.2). Make a note of the download URL and MD5 checksum.
Download the software directly to the Morpheus VM with the command:
wget https://<download_location_fromMorpheusHub>/files/morpheus-appliance-4.2.2-2.el8.x86_64.rpm
Once the download has completed, check file integrity with the md5sum command:

sudo rpm -i morpheus-appliance-4.2.2-2.el8.x86_64.rpm
Once the RPM package is installed, configure and start the Morpheus admin UI by running the command:
sudo morpheus-ctl reconfigure
NOTE: This step can take some time.
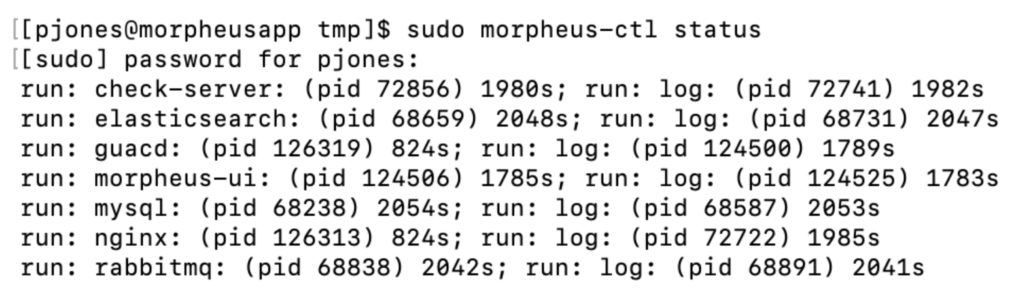
Once the reconfigure command has completed, check that all services are running with the command:
sudo morpheus-ctl status
You should see 7 running services:
We’ll cover the reasons for doing this in a later blog.
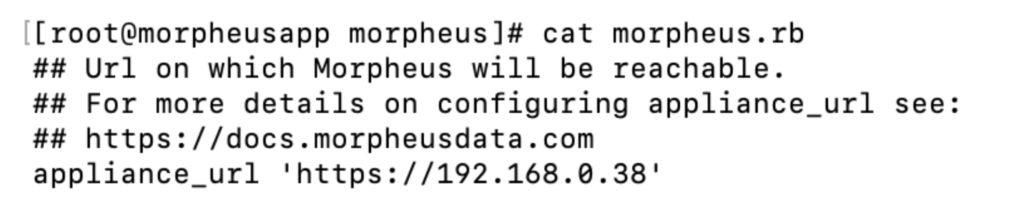
As we have changed the morpheus.rb file, we now need to run the reconfigure command once more:
sudo morpheus-ctl reconfigure
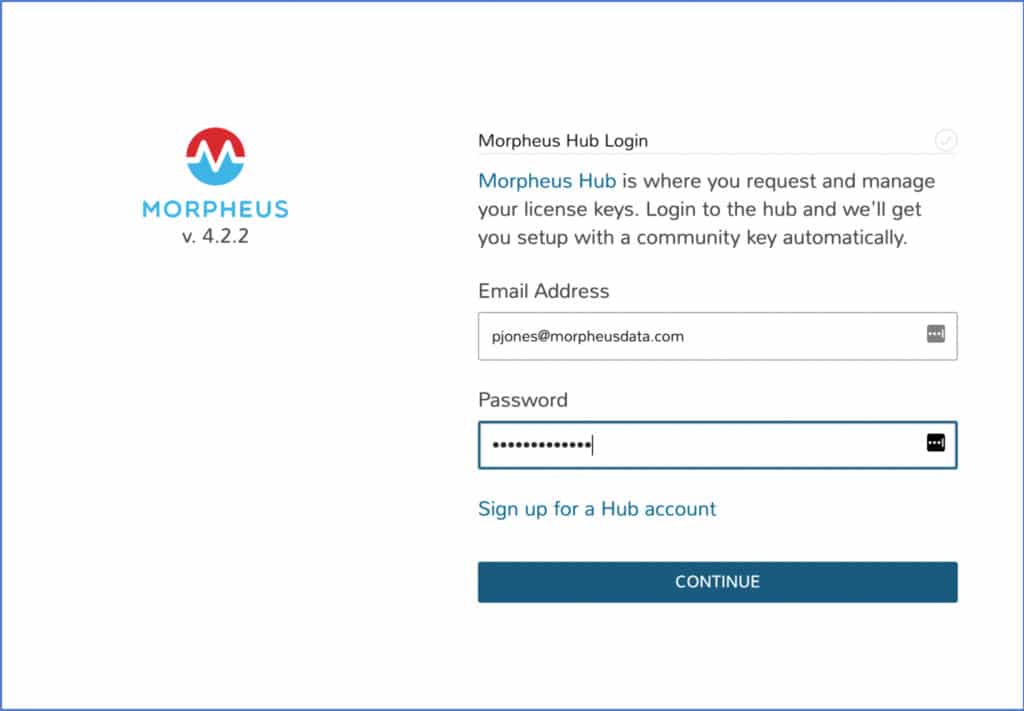
On the first screen you will need to Login or Register with the Morpheus Hub.

As we have already registered with Morpheus Hub to download the software, we can log in using the same email address and password
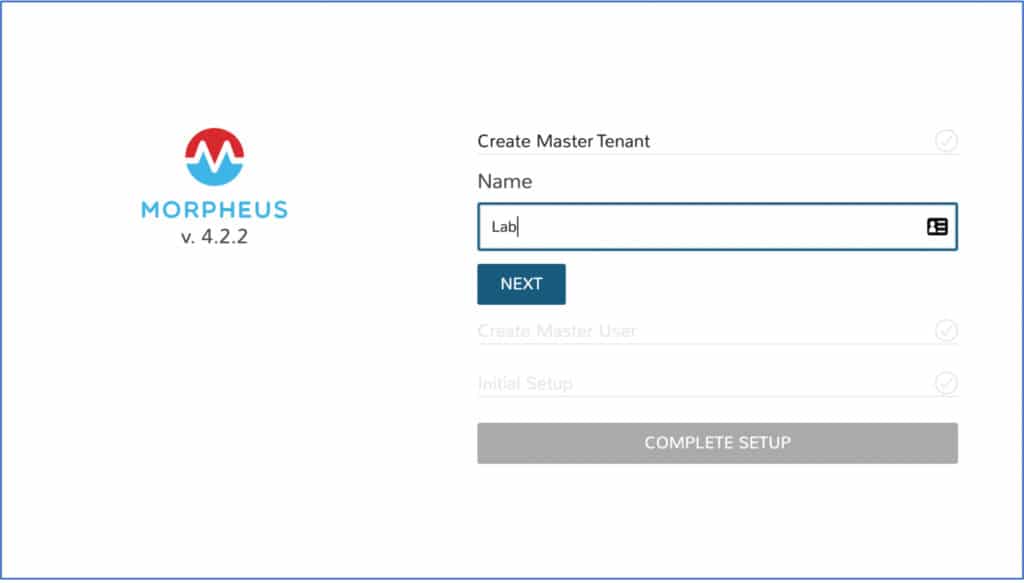
Once logged in you will be taken through the first time setup wizard. Provide a Name for the Master Tenant. This is usually your company name.
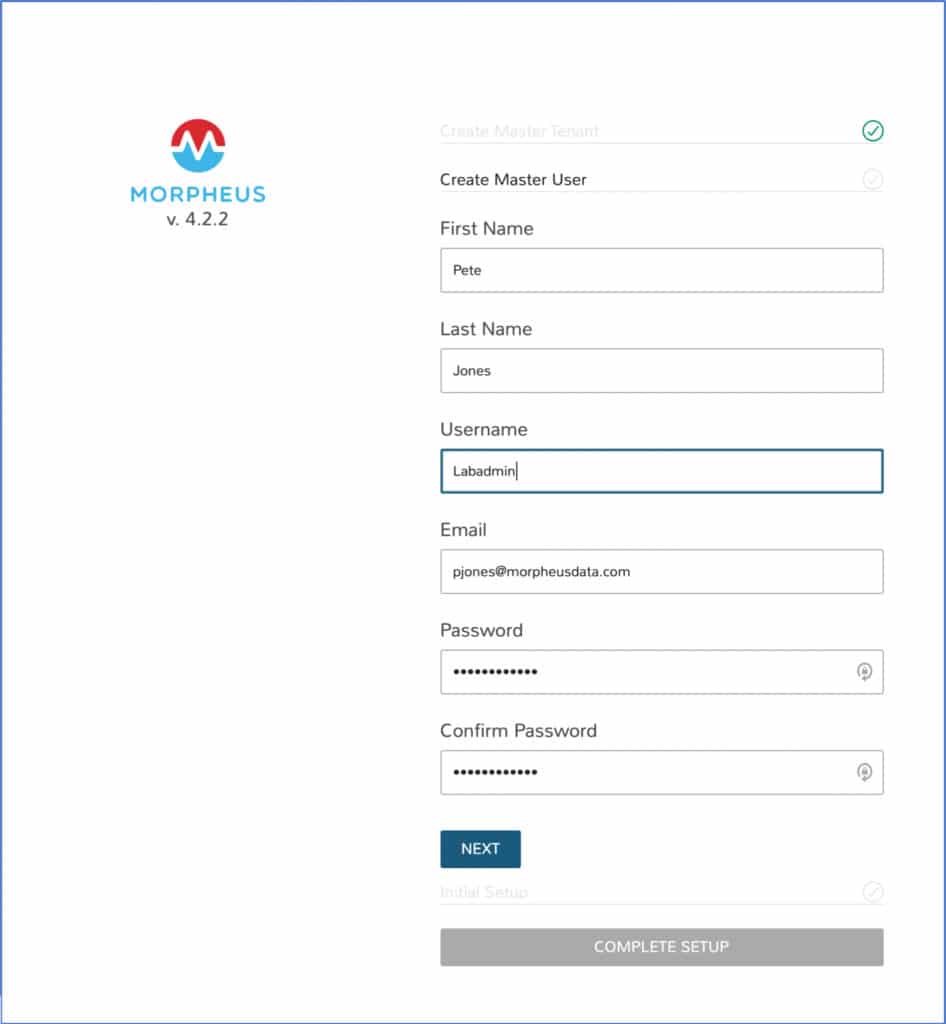
Provide the details for the Morpheus Master User. (This will be an administrator user).
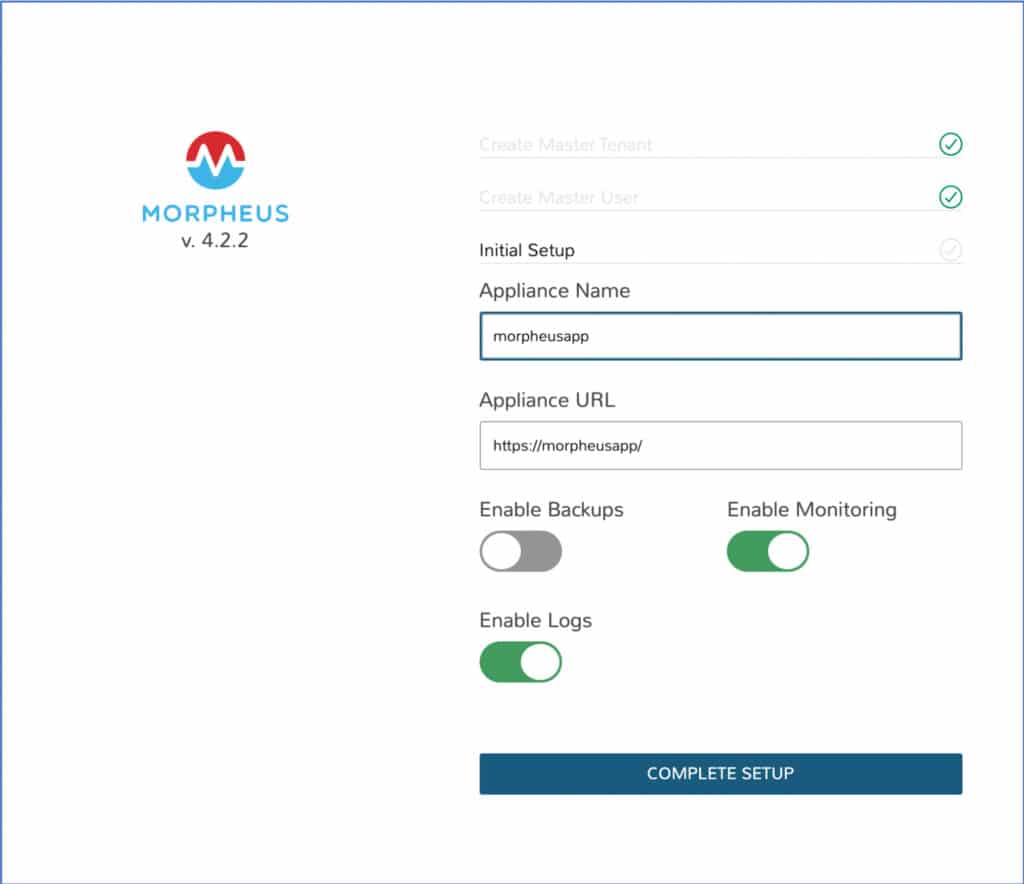
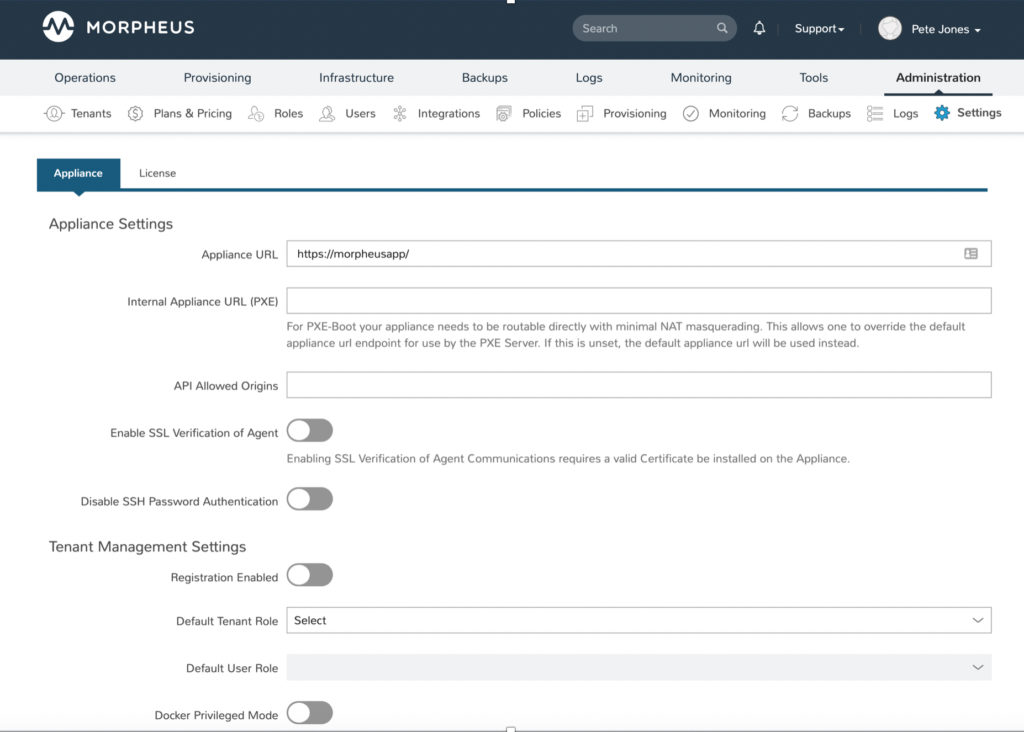
Enter the Appliance Name and url. Click Complete Setup.
Congratulations! You are now logged into your very own Morpheus Appliance.
From here you’ll want to connect to a cloud or two. Let me point you to the guides on how to connect to your on premises VMware vSphere environment, and to your public cloud AWS account.
Would you like a live demo of Morpheus? Go ahead and request one here.
Download the Community Edition of the Morpheus platform. The Community Edition includes the full Morpheus platform framework including all features and capabilities with some caveats. Visit the Morpheus Hub site to register and request the community edition.
Stay safe, stay healthy!